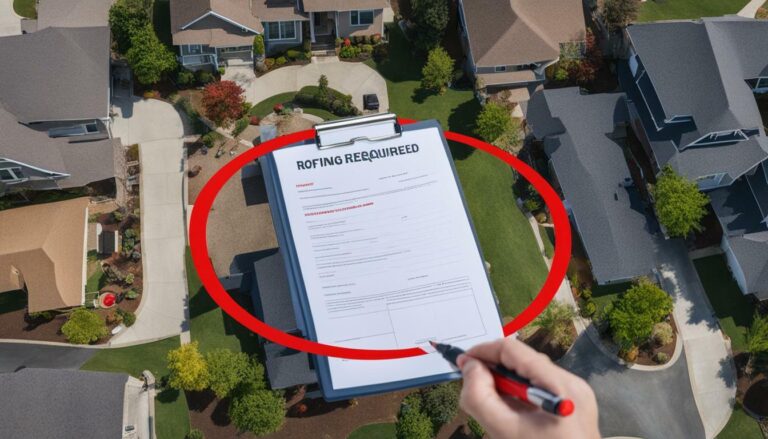
Discover How to Check for Roof Leaks – Your Home Guide
Discovering how to check for roof leaks is crucial for homeowners to protect their homes from further damage. Whether it’s a small stain on the ceiling or noticeable water intrusion, addressing roof leaks promptly can prevent more extensive issues such as rotted framing, ruined insulation, and harmful mold growth. By identifying and addressing leaks early on, homeowners can save themselves from costly repairs and ensure their homes remain safe and secure.
- Regularly inspect your home for signs of roof leaks, both inside and outside.
- Check for visible stains or damage on the ceiling and walls.
- Examine the attic for moisture, stains, and signs of a leaky roof.
- Inspect the roof for damaged or missing shingles, torn flashing, and improper installation.
- If the source of the leak remains elusive, recreate rainfall by using a hose or garden nozzle on the roof while checking inside the home for water.
Signs of Roof Leaks
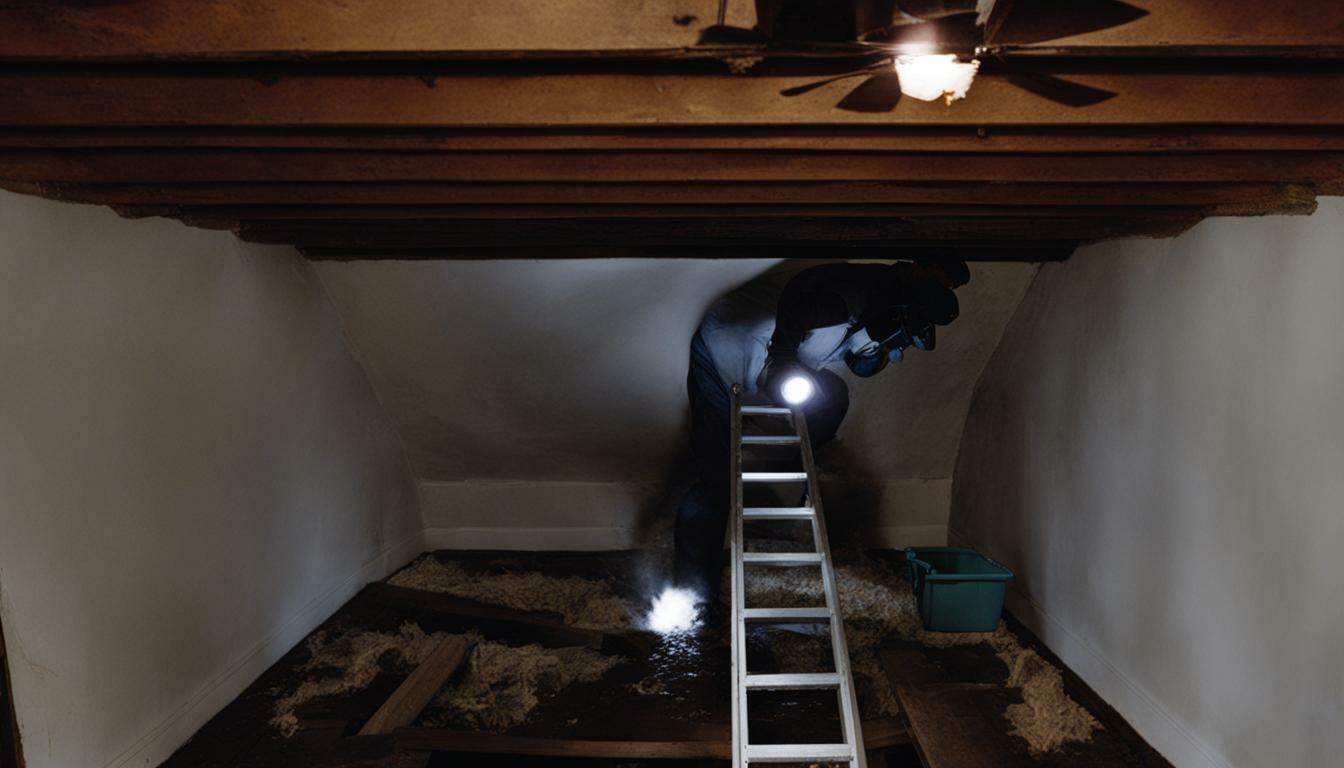
Recognizing the signs of roof leaks is the first step in identifying and locating the source of a leak. These signs can manifest both inside the home and in the attic. Inside the home, look for visible stains or damage on the ceiling or walls, as well as any signs of water dripping or pooling. If necessary, remove drywall and insulation to get a better view of the affected area. In the attic, inspect for moisture, stains, or discoloration on the rafters, as well as any signs of carpenter ant damage or deteriorating sheathing. These are often indicative of a leaky roof.
Inspecting the roof itself is another crucial step in locating roof leaks. Pay close attention to damaged or missing shingles, as they can create openings for water to seep through. Check for torn or dislodged flashing around chimneys, vents, and skylights, as these areas are common sources of leaks. Improper installation, such as improperly sealed or overlapping shingles, can also contribute to roof leaks. It’s important to thoroughly examine the entire roof to identify any potential issues.
Recreating Rainfall for Troubleshooting
If you’ve checked the visible signs and inspected the roof but still haven’t found the source of the leak, you may need to recreate rainfall to troubleshoot further. Grab a hose or garden nozzle and simulate rainfall by spraying water on different sections of the roof. While doing so, have someone check inside the home for any signs of water entering. This method can help pinpoint the exact location of the leak and guide you towards the necessary repairs.
Remember, addressing roof leaks promptly is crucial to prevent further damage to your home. Water intrusion can lead to rotted framing, ruined insulation, and even mold growth. By recognizing the signs of roof leaks and taking the necessary steps to locate and repair them, you can protect your home and maintain its integrity.

| Visible Signs | Attic Inspection | Roof Inspection |
|---|---|---|
| Stains or damage on ceilings or walls | Moisture or stains on rafters | Missing or damaged shingles |
| Water dripping or pooling | Carpenter ant damage | Torn or dislodged flashing |
| Deteriorating sheathing | Improper installation |
Roof Inspection for Leaks
Conducting a thorough roof inspection is essential for detecting potential leaks and addressing them promptly. Start by examining the area of the visible stain or damage inside your home. If needed, remove drywall and insulation to better locate the source. Checking the attic is also crucial, as leaks often manifest here first. Look for moisture, stains, carpenter ant damage, deteriorating sheathing, and other signs of a leaky roof.
Inspecting the roof itself is another important step in leak detection. Pay close attention to damaged or missing shingles, torn flashing, and signs of improper installation. Take note of any areas where water could potentially seep through. By thoroughly examining these areas, you can identify the source of the leak and determine the necessary repair or replacement.
If the source of the leak remains elusive, you may need to recreate rainfall by using a hose or garden nozzle on the roof while checking inside your home for water. This simulated rainfall can help pinpoint the exact location of the leak. Additionally, if the leak is still not found, it may be necessary to remove shingles in the affected area to inspect the sheathing. Remember, addressing roof leaks promptly is crucial to prevent further damage, such as rotted framing, ruined insulation, and the growth of mold.

| Signs | Description |
|---|---|
| Visible stains or damage inside the home | Look for water stains on ceilings, walls, or floors. |
| Moisture in the attic | Check for dampness, musty odors, or water stains on insulation or rafters. |
| Deteriorating sheathing | Inspect for rot, decay, or signs of water damage. |
| Missing, damaged, or curled shingles | Examine the roof surface for any compromised shingles. |
| Torn or loose flashing | Inspect areas where the roof meets walls, chimneys, or vents. |
“Addressing roof leaks promptly is crucial to prevent further damage, such as rotted framing, ruined insulation, and the growth of mold.”
- Start by examining the area of visible stain or damage inside your home.
- If necessary, remove drywall and insulation to better locate the source.
- Check the attic for moisture, stains, carpenter ant damage, and deteriorating sheathing.
- Inspect the roof for damaged or missing shingles, torn flashing, and signs of improper installation.
- If the source of the leak remains elusive, recreate rainfall using a hose or garden nozzle on the roof.
- Remove shingles in the affected area to inspect the sheathing if necessary.
Troubleshooting Roof Leaks
If you’re having trouble finding the source of a roof leak, these troubleshooting techniques can help narrow down the search. Start by examining the area of the visible stain or damage inside your home. Sometimes, removing drywall and insulation can provide better access to locate the source of the leak. Checking your attic is also crucial, as leaks often manifest here first. Look for signs such as moisture, stains, carpenter ant damage, deteriorating sheathing, or any other indications of a leaky roof.
Inspecting your roof itself is another important step in troubleshooting roof leaks. Pay close attention to damaged or missing shingles, torn flashing, and signs of improper installation. These issues can often be the root cause of a leak. If the source of the leak remains elusive, you may need to recreate rainfall by using a hose or garden nozzle on your roof while checking inside your home for any signs of water. This can help identify the specific area where the leak is occurring.
In some cases, if the leak still cannot be found, it may be necessary to remove the shingles in the affected area to inspect the sheathing. This can reveal any hidden damage or leaks that may not be visible from the exterior. It is crucial to address roof leaks promptly to prevent further damage to your home. Delaying repairs can lead to rotted framing, ruined insulation, and even mold growth, which can be costly and pose health risks.

Remember, finding and addressing roof leaks as early as possible is essential for maintaining the integrity of your home. By following these troubleshooting techniques, you can narrow down the search for the source of the leak and take appropriate action to prevent further damage.
DIY Roof Leak Detection
If you’re comfortable with DIY projects, you can try these methods to detect roof leaks on your own:
- Start by examining the area of the visible stain or damage inside your home. If necessary, remove drywall and insulation to get a better view of the source of the leak.
- Next, check your attic for signs of a leaky roof. Look for moisture, stains, carpenter ant damage, deteriorating sheathing, and any other indicators that there may be a leak.
- Inspecting the roof itself is crucial. Pay close attention to damaged or missing shingles, torn flashing, and any signs of improper installation.
- If you’re still unable to find the source of the leak, try recreating rainfall on your roof. Use a hose or a garden nozzle to simulate rainfall while checking inside your home for any signs of water.
- In some cases, it may be necessary to remove shingles in the affected area to inspect the sheathing for leaks. This step can help you locate the source of the problem more accurately.
It’s important to address roof leaks promptly to prevent further damage to your home. Delaying repairs can lead to rotted framing, ruined insulation, and even mold growth. If you’re unsure about detecting or fixing roof leaks on your own, it’s always best to seek professional help to ensure the job is done correctly.
Remember, maintaining a healthy and secure home environment starts with regular roof inspections and proactive leak prevention measures.

| Signs | Description |
|---|---|
| Visible Stains or Damage inside the Home | Look for discoloration, water marks, or sagging ceilings. |
| Moisture in the Attic | Check for dampness, stains, or mold growth. |
| Deteriorating Sheathing | Inspect for signs of decay, rot, or soft spots. |
| Damaged or Missing Shingles | Look for cracked, curled, or loose shingles. |
| Torn Flashing | Examine the metal strips around vents, chimneys, and other roof penetrations. |
Roof Leak Prevention
Taking proactive steps to prevent roof leaks can save you from future headaches and costly repairs. By regularly maintaining your roof and addressing any potential issues, you can ensure a longer lifespan for your roof and a healthier home environment. Here are some essential measures you can take to prevent roof leaks:
- Regular Inspection: Conducting routine inspections of your roof is crucial in detecting any signs of damage or wear. Look for cracked or missing shingles, damaged flashing, or any other visible signs of deterioration. Pay attention to areas prone to leaks, such as valleys and skylights.
- Clean Gutters: Clogged gutters can cause water to overflow and seep into your roof, leading to leaks. Clean your gutters regularly to ensure proper drainage and prevent water from pooling on your roof.
- Trim Overhanging Branches: Overhanging tree branches can rub against your roof, causing damage to shingles and creating entry points for water. Trim any branches that are too close to your roof to minimize the risk of roof leaks.
- Seal Gaps and Cracks: Inspect your roof for any gaps or cracks that could potentially allow water to penetrate. Seal these areas with appropriate roofing sealants or caulking to prevent leaks.
- Proper Ventilation: Adequate ventilation in your attic helps regulate temperature and minimize moisture buildup, reducing the risk of roof leaks. Ensure that your attic has proper airflow by installing vents and fans.

Remember, prevention is key when it comes to roof leaks. By implementing these preventive measures, you can protect your home from the damaging effects of water intrusion and maintain a strong and secure roof for years to come.
Addressing Roof Leaks
Once you’ve located a roof leak, it’s crucial to take immediate action to prevent further damage by addressing the issue promptly. Failing to repair a roof leak in a timely manner can result in rotted framing, ruined insulation, and the growth of mold, which can lead to even more costly repairs. Here are some steps you can take to address roof leaks and minimize the impact on your home:
- Start by assessing the severity of the leak. If it’s a small leak that can be temporarily patched, consider using roofing cement or a flexible sealant to stop the immediate flow of water. This will give you some time to plan for a more permanent repair.
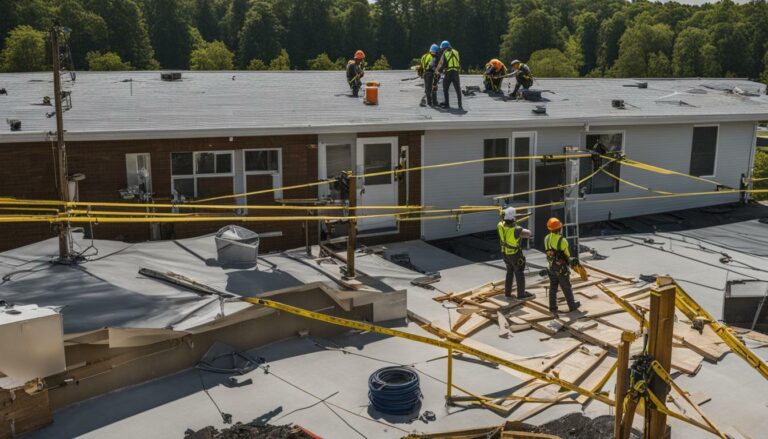
- If the leak is more significant or if you’re unsure of your ability to fix it yourself, it’s best to contact a professional roofing contractor. They have the expertise and equipment to properly diagnose and repair the leak, ensuring that it is fixed the first time.
- When hiring a roofing contractor, make sure to do your due diligence. Check their credentials, read reviews from previous customers, and ask for a detailed estimate before agreeing to any work.
- Once the roof leak has been repaired, thoroughly inspect the affected area inside your home for any signs of water damage or mold growth. If necessary, consult with a professional to assess the extent of the damage and recommend the appropriate remediation measures.

Addressing roof leaks promptly is essential for maintaining the integrity of your home. By taking immediate action and enlisting the help of professionals when necessary, you can minimize the damage caused by roof leaks and ensure the long-term stability of your property.
Inspecting Sheathing for Leaks
If the source of a roof leak remains elusive, it may be necessary to inspect the sheathing by removing shingles in the affected area. This will allow for a closer examination of the underlying structure and the identification of any damage or leaks. Here are the steps to follow when inspecting the sheathing:
- Begin by carefully removing the shingles covering the area where the leak is suspected. Use a pry bar or similar tool to lift the shingles and expose the sheathing underneath. Take caution to avoid breaking or damaging the shingles in the process.
- Once the sheathing is exposed, visually inspect it for any signs of water damage, such as discoloration, rot, or mold growth. Pay close attention to areas where the sheathing meets flashing or other roofing components, as these are common locations for leaks to occur.
- If you notice any areas of concern, use a screwdriver or similar tool to gently probe the sheathing. Soft or spongy areas may indicate moisture or rot, which could be indicative of a leak. Take note of the location and extent of the damage for further assessment and repair.

Inspecting the sheathing for leaks is a crucial step in addressing roof leaks and preventing further damage to your home. By removing the shingles in the affected area and carefully examining the sheathing, you can identify the source of the leak and take the necessary steps to repair it. Prompt action is key to avoiding more severe consequences such as rotted framing, ruined insulation, and the growth of mold or mildew. Remember to consult a professional if you are unsure or uncomfortable with conducting the inspection and repairs yourself. They have the expertise and tools necessary to ensure the job is done correctly and safely.
Ensuring that your roof remains in good condition is essential for the overall structural integrity of your home. Regular inspections and proactive maintenance can help prevent leaks and other issues from occurring. By staying vigilant and addressing any problems as soon as they arise, you can protect your investment and enjoy a secure and comfortable living environment.
Conclusion
By following these steps and implementing preventive measures, you can effectively check for roof leaks and protect your home from potential damage. Discovering how to check for roof leaks is crucial for homeowners to prevent further harm to their homes. To locate the source of a leak, begin by examining the area of the visible stain or damage inside the home. If necessary, remove drywall and insulation to better locate the source.
Checking the attic is also essential as leaks often manifest here first. Look for moisture, stains, carpenter ant damage, deteriorating sheathing, and other signs of a leaky roof. Inspecting the roof itself is another crucial step, paying attention to damaged or missing shingles, torn flashing, and improper installation.
If the leak is still not found, it may be necessary to recreate rainfall by using a hose or garden nozzle on the roof while checking inside the home for water. Additionally, if the leak remains elusive, shingles in the affected area may need to be removed to inspect the sheathing.
Addressing roof leaks promptly is essential to prevent further damage such as rotted framing, ruined insulation, and mold growth. By taking proactive measures and conducting regular roof inspections, you can minimize the risk of leaks and maintain a healthy and secure home environment.
FAQ
Q: Why is it important to check for roof leaks?
A: Discovering and addressing roof leaks promptly is crucial for preventing further damage to your home. Roof leaks can lead to rotted framing, ruined insulation, and mold growth if left untreated.
Q: How do I find the source of a roof leak?
A: Start by examining the area of the visible stain or damage inside your home. If necessary, remove drywall and insulation to better locate the source. Checking the attic is also crucial, as leaks often manifest here first.
Q: What signs should I look for when inspecting the attic for roof leaks?
A: Look for moisture, stains, carpenter ant damage, deteriorating sheathing, and any other signs of a leaky roof.
Q: How can I inspect the roof itself for potential leaks?
A: Pay attention to damaged or missing shingles, torn flashing, and signs of improper installation. These can all be potential sources of roof leaks.
Q: What if I can’t find the source of the leak through visual inspection?
A: If the leak is still not found, you may need to recreate rainfall by using a hose or garden nozzle on the roof while checking inside your home for water. Additionally, removing shingles in the affected area to inspect the sheathing may be necessary.
Q: How can I prevent roof leaks?
A: Regular maintenance tasks such as cleaning gutters, trimming tree branches, and inspecting the roof for any signs of damage can help minimize the risk of roof leaks.
Q: What should I do if I find a roof leak?
A: It is essential to promptly address roof leaks. Repair damaged shingles, fix flashing issues, and consider seeking professional help if needed to ensure proper repairs.
Q: Is it necessary to inspect the sheathing for leaks?
A: In certain cases, the source of a roof leak may not be visible, and further inspection of the sheathing may be required. Removing shingles in the affected area to access the sheathing can help assess any damage or leaks.